 Sometimes success lies less in the final destination, and more in the journey to get there. I think I can safely say this faux stained glass window project is a good example of the voyage being more prized than the ultimate arrival.
As readers of my earlier post might remember, I was hoping to create an inexpensive "stained glass look" window to hang in my kitchen and go along with my kaleidoscope of Fiesta dishes.
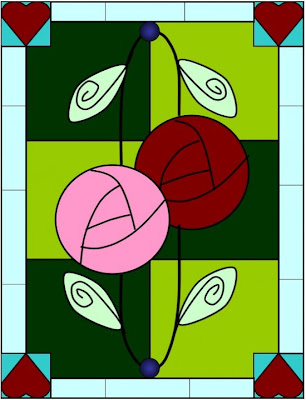
I was aiming for a sort of Arts & Crafts Period meets Alice in Wonderland feel. This was my initial design....
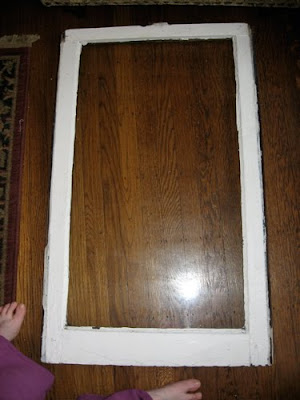
 Using an old window I got at Construction Junction for $1.06, I added the pattern in stick-on leading I'd picked up discounted at Michaels a while ago...
 The pattern progressed (if a little bit crooked here and there, but hey, it's Wonderland, it's allowed to be wonky)....
 And finally, it was all transferred. Not perfect, but you can see where I was going with it, anyway.
 Now it came to filling it in. I used a couple of different types of glass paint, including Gallery Glass brand, made specifically for these sorts of windows. Unfortunately, the directions on how to go about it indicated "Follow the directions on the pattern." Y'know, the pattern I didn't have because I made my own pattern.
So initially, I was painting the color on with brushes. And that made things really streaky. In fact, you can't see just how streaky it was in this photo...
 But here in the light-- yipes!
 I liked how fluid the roses and hearts turned out, but that was a different type of glass paint, and that brand didn't come in the colors I needed. So I decided to try sallying forth by squeezing the paint on thickly-- as I did the hearts, the background paint, too.
I was a little like icing a very large, very cheerfully-colored, but very untasty cake...
 And as it dried, the paint began to change color rather dramatically. I found myself just a bit mesmerized by the way it crept across the window from block to block getting darker... darker....
 So now it hangs in my kitchen. I think it still could dry a little more-- it tends to smooth out slightly the more it's dry...
 But the whole thing does have a rather textured appearance I hadn't planned on, anyway. Better than streaky, but not quite as placid and smooth as I'd hoped...
 Still, it catches the light nicely...
 I think in terms of Lessons Learned, I would experiment a little more with different types of glass paint, and understand their surprising behaviors, before embarking on a full-fledged project like this.
Anyway, I enjoyed the process. Honestly, what's nicer than a quiet weekend afternoon listening to a favorite film and surrounded by a whole rainbow of craftable colors?
May the rest of your week be shiny, too!


